
Do You Need to Sand Weatherboards Before Painting? A Step-by-Step Guide
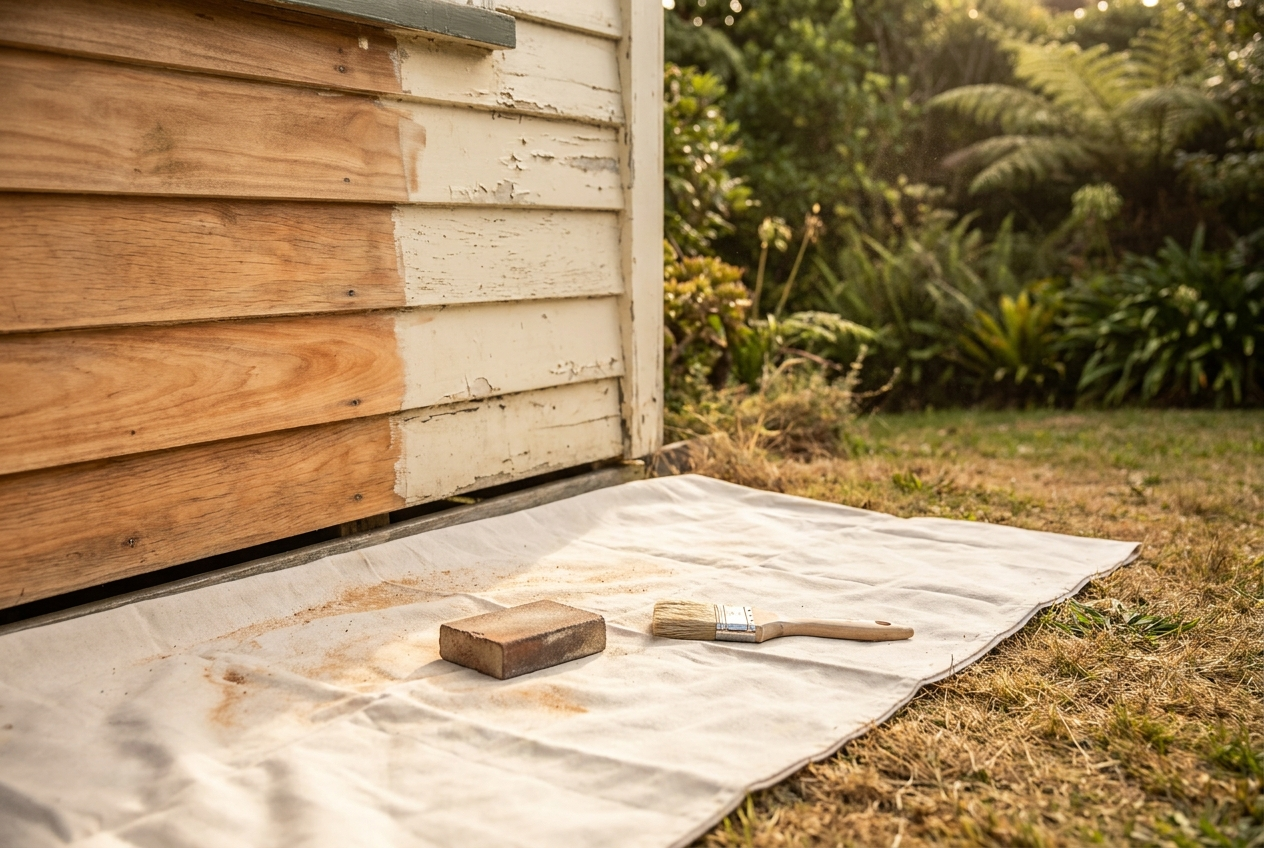
If you own a villa, bungalow, or weatherboard home in Auckland, chances are you’re planning an exterior repaint at some point. One of the biggest questions we hear is: do you really need to sand weatherboards before painting?
The short answer: yes — absolutely.
Skipping this step means the new paint won’t stick properly, leading to peeling, cracking, and wasted money. Here’s a quick step-by-step guide.
Step-by-Step: Preparing Weatherboards for Painting
Inspection
Look for rot, cracks, or damaged boards that may need replacing.
Cleaning
Wash weatherboards with a high-pressure hose to remove dirt, salt, and mould.
Scraping
Remove flaking or loose paint with a scraper.
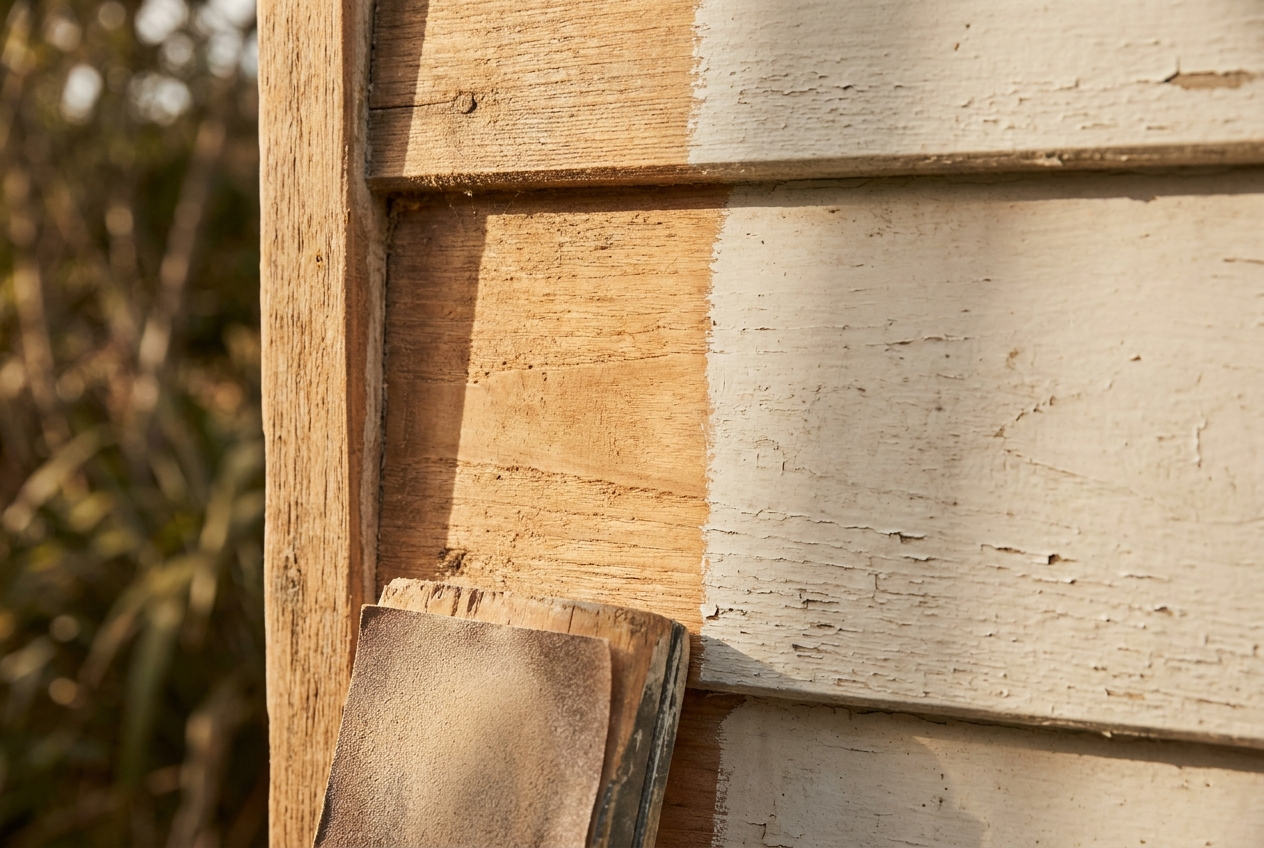
Sanding
Smooth rough edges and feather back old paint for a seamless finish.
Sanding also helps the new paint bond better.
Priming
Apply a quality primer to bare timber or exposed areas.
Painting
Use two coats of premium exterior paint designed for Auckland’s climate.
Why Sanding Weatherboards Matters
Better adhesion: Paint bonds properly to a sanded surface.
Longer lifespan: Extends the life of your exterior repaint.
Professional finish: Smooth weatherboards = flawless look.
Get It Done Right with Key Painting
Weatherboard homes are common in Auckland, and our team are experts in restoring them.
✅ Full prep included (washing, scraping, sanding, priming)
✅ Premium exterior paints for NZ conditions
✅ Free instant estimate via our painting estimator tool
The short answer, and the honest one
Almost always, yes. But "sanding" covers everything from a light scuff with 180 grit to stripping a hundred years of paint back to bare timber, and those are very different jobs at very different prices. What your house actually needs depends on what's already on it.
When you genuinely don't need to sand much
We'd rather tell you this than sell you prep you don't need.
- The existing paint is sound, clean and tightly stuck. No flaking, no chalking, no cracking. A wash and a light scuff to give the new coat something to key into is enough.
- It was painted in the last five to eight years with a quality acrylic and it still looks like it. You're recoating, not restoring.
- New, primed weatherboards. Factory-primed boards need a de-nib at most. Over-sanding a factory primer burns through it and you end up priming again.
How to check it yourself in two minutes: press a strip of masking tape firmly onto the paint, then rip it off fast. If paint comes away with the tape, the film has lost its grip and you're into proper prep. Then rub your palm across a sunny wall — if it comes off grey and powdery, that's chalking, and nothing will stick to it until it's washed and sanded off.
When sanding is not optional
- Flaking, blistering or peeling anywhere. New paint is only as stuck down as the coat underneath it.
- Chalking. That powder is degraded binder. Paint over it and you've glued your new coat to dust.
- Old enamel or oil-based paint. Hard and glossy, and modern acrylics will not key to it without being sanded dull first. Very common on Auckland villas and bungalows.
- Bare or weathered timber. UV-degraded surface fibres have to come off or the primer bonds to a layer that's already letting go.
- You're changing sheen or going much darker or lighter. Adhesion matters more when the film is doing more work.
Read this first if your house was painted before 1980
This is the part most articles leave out, and it's the part that actually matters.
Paint sold in New Zealand before the late 1970s very often contained lead. Villas, bungalows, state houses, anything pre-1980 — assume lead until you know otherwise. Sanding it dry creates a fine dust that settles in your soil, your garden beds, your window tracks and inside your house, and it is genuinely dangerous to young children and to anyone pregnant.
What that means in practice:
- Test before you sand. Lead test swabs are cheap and available at paint merchants. Test a few layers down, not just the top coat.
- Never dry-sand it with an orbital or a disc. That's the worst-case scenario for dust.
- Wet sanding, chemical stripping or shrouded vacuum sanding are the controlled options. Drop sheets down, soil protected, debris collected and disposed of properly.
- WorkSafe treats lead paint removal as hazardous work. A contractor who shrugs at it is telling you something about the rest of their standards.
We deal with pre-1980 Auckland housing constantly, so this is a normal part of quoting for us rather than a surprise halfway through. If you're doing it yourself, please just test first.
Grit, and doing it in the right order
Going too coarse is the most common DIY mistake. Heavy grit gouges softwood, leaves swirl marks that telegraph straight through the topcoat, and creates more filling work than it saved.
| Grit | Use it for |
|---|---|
| 60–80 | Heavy removal only. Stripping thick failed paint. Never on a finish pass. |
| 100–120 | Feathering the edges of flaked areas so repairs disappear. The workhorse grit. |
| 150–180 | Dulling sound gloss, smoothing filler, general keying before primer. |
| 220+ | Between coats on doors and joinery where you want a glass finish. |
Feathering is the skill that separates a good job from an obvious one. Where paint has flaked away you've got a step between bare timber and the old film. If you don't sand that edge down to a gradual ramp, you will see every single repair as a ridge once the sun hits the wall at an angle. Most patchy-looking repaints are a feathering failure, not a paint failure.
Work top to bottom, sand with the grain, and wash the dust off before you prime. Dust is a bond breaker like anything else.
Auckland timber, and Auckland weather
Different boards behave differently under the sander:
- Kauri (older villas) is dense and sands beautifully, but it's irreplaceable — never take more off than you need.
- Rimu is softer than it looks and dents under a heavy machine.
- Cedar is very soft, bleeds tannins, and needs a stain-blocking primer or you'll get brown staining through your topcoat within months.
- Treated pine is the most forgiving, but check moisture content before painting — freshly treated pine can still be wet.
- Fibre cement and Hardiplank only want a light key and a wash. Never aggressively sand these: the dust contains crystalline silica and needs proper respiratory protection.
On timing: Auckland's humidity means an exterior wall that looks dry at 8am often isn't. We work to surfaces at or below roughly 16% moisture content, at least 3°C above dew point, and we stop when the temperature drops below about 10°C because acrylics stop forming a proper film. Late spring through autumn is the honest window. Painting a damp winter wall is how you end up back at square one, and it's one of the most common causes of bubbling paint on coastal homes.
What sanding can't fix
If a board is soft, spongy, or a screwdriver pushes into it, that's rot, and no amount of prep or paint will do anything but hide it for a season. Historically the options were to replace the whole board or fill it with something that cracks out within a year.
We're now accredited in the Repair Care system, which lets us cut out the decayed section and rebuild it with a flexible resin that moves with the timber instead of cracking away from it. On a villa with original kauri joinery that's a much better outcome than ripping out boards that can't be matched.
So what does all this prep cost?
Here's the bit nobody says out loud: on an older Auckland exterior, prep is usually more than half the job. Not the paint, not the coats — the washing, scraping, sanding, feathering, filling and priming.
Which is exactly why quotes for the same house come back hundreds or thousands apart. The cheap one is almost never using cheaper paint. It's doing less prep. You won't see the difference for about eighteen months, and then you'll see it everywhere.
When you're comparing quotes, ask each painter: how many coats, what primer, and what specifically are you doing about the flaking on the west wall. The answers will tell you more than the number at the bottom. Our exterior painting quotes spell the prep out line by line for that reason.
Frequently asked questions
Do you always have to sand weatherboards before painting?
Not always to bare timber, but sound prep is essential. Glossy, flaking or chalky surfaces need sanding (and often scraping and priming) so the new coat bonds properly. Sound, previously painted boards may only need a light scuff and a thorough wash.
What grit sandpaper is best for weatherboards?
A medium grit (around 80–120) is typical for removing loose paint and keying the surface, finishing finer where needed. The right approach depends on the boards’ condition — that’s part of what a good prep assessment covers.
Should I sand or just water-blast my weatherboards?
Washing removes dirt and salt (important in Auckland’s coastal air) but doesn’t replace sanding — they do different jobs. Most quality exterior repaints use both: clean first, then sand and prep where the paint has failed.
Want it done right the first time? See our exterior painting service, get a free instant estimate, or book a free consultation.